
First you need to become root and make sure that the services are running. The following commands will show you if they are.
su -l

ps aux | grep nginx

ps aux | grep mysqld

ps aux | grep php-fpm
Now, we need to add virtual host parameters in our nginx configuration file.
nano -w /etc/nginx/nginx.conf
Scroll down to the very bottom of the file and paste the following lines. As you can see, I am using "cooldomain.com" as my domain name,so, just change it to yours:
server {

listen       80;

server_name  cooldomain.com www.cooldomain.com ;


location / {

root  /usr/share/nginx/html/cooldomain;

index  index.html index.php index.htm;

}

location ~ \.php$ {

root           /usr/share/nginx/html/cooldomain;

fastcgi_pass   127.0.0.1:9000;

fastcgi_index  index.php;

fastcgi_param  SCRIPT_FILENAME /usr/share/nginx/html/cooldomain/$fastcgi_script_name;

include        /etc/nginx/fastcgi_params;

}

}
Create the domain name's document root directory and make nginx the owner. Make sure you change the settings to yours. For example if your NginX user is "gay-user", you change nginx:nginx to gay-user:gay-user and so on.
cd /usr/share/nginx/html
mkdir cooldomain
chown -R nginx:nginx cooldomain
cd cooldomain
wget http://wordpress.org/latest.zip
unzip latest.zip
mv wordpress/* ./
rm -rf latest.zip wordpress
chown -R nginx:nginx .*
We now need to install Wordpress. First, we need a MySQL database and user. We log into our mysql client as root with our MySQL root password
mysql -u root -pNow, type the following into the MySQL console. Remember to change the names and passwords to yours and don't forget the ";" as the end of each line! Changeable stuff are "wordpress", "wpadmin" and "password"
create database wordpress;


allow all on wordpress.* to wpadmin@localhost identified by "password";


quit
We now have the database, so, just browse to your domain name and begin the wordpress installation.

Now, let's change the URL (permalinks) structure of Wordpress to make our blogs SEO friendly. And, here's what we get:
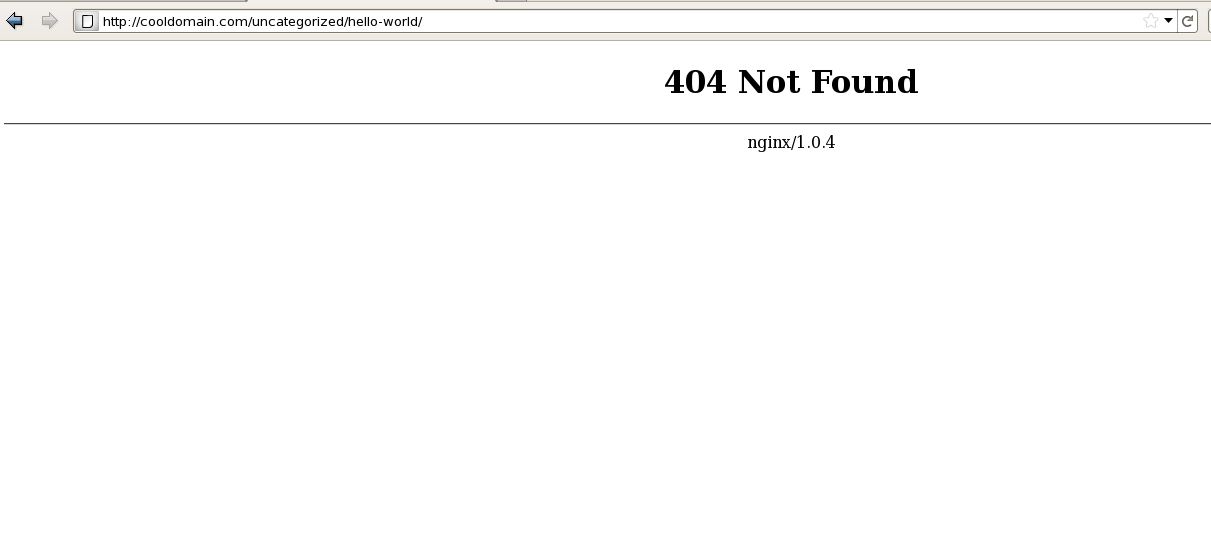
A 404 error instead of our blog post! This means that NginX doesn't support SEO friendly links and you'll have to stick to the ugly p?154543 structure! Too bad huh, you should have sticked to Apache. HeHe, gotcha! Just kiddin', NginX DOES support seo friendly urls, you just need to setup your virtual hosts with the rewrite rule. Apache stores it's rewrite rules in the .htaccess file wherease nginx uses the configuration file to read rewrite rules. So, here's what you need to do everytime you install a web app that needs pretty URLS.
We need to create a file that contains all the necessary rewrite rules.
nano /etc/nginx/wp.rules
Paste the following lines in the file and save it.
if (-f $request_filename) {

break;

}

if (-d $request_filename) {

break;

}

rewrite ^(.+)$ /index.php?q=$1 last;
Now we need to tell nginx to read that file when it starts up.
nano /etc/nginx/nginx.confFind the line where it says index in the virtualhost section (the one we created earlier) and add the following line just below it.
include /etc/nginx/wp.rules;
It should read like this:
index  index.html index.php index.htm;
include /etc/nginx/wp.rules;
}
Now we restart the web server.
service nginx restart
Now check the page again and it should load up fine:

So, that's how we configure a domain name and web app to work with Nginx and PHP-FPM. If you need to configure more domain names and apps, just repeat these steps. Pretty easy huh!?
No comments:
Post a Comment